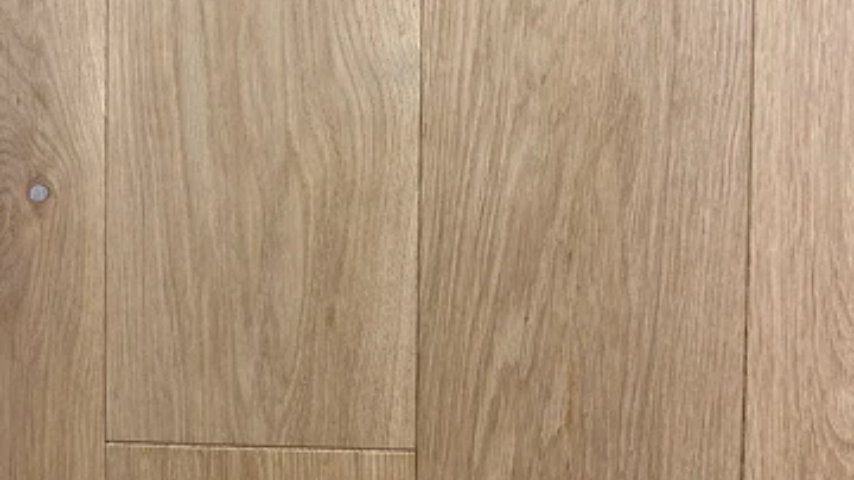
Solid Wood Flooring Installation: A DIY Guide
Solid wood flooring adds warmth, elegance, and value to any home. Installing it yourself can be a rewarding project, allowing you to customize your space while saving on labor costs. This step-by-step guide will walk you through the process of installing solid wood flooring, from preparation to finishing touches.
Materials and Tools You’ll Need
Materials:
- Solid wood flooring planks
- Underlayment (if required)
- Wood glue
- Nails or staples
- Floor finish (if unfinished wood is used)
Tools:
- Tape measure
- Chalk line
- Circular saw or miter saw
- Pry bar
- Hammer or pneumatic flooring nailer
- Drill
- Moisture meter
- Rubber mallet
- Spacers
- Sandpaper
- Safety gear (gloves, goggles, ear protection)
Step 1: Prepare the Subfloor
Before you start, ensure that your subfloor is clean, dry, and level. Use a moisture meter to check that the moisture levels are within the recommended range for your type of wood flooring. Remove any baseboards or moldings.
Step 2: Acclimate the Wood
Solid wood flooring needs to acclimate to the room’s temperature and humidity. Lay the planks flat in the installation area for at least 48 hours. This helps prevent warping or gaps after installation.
Step 3: Plan Your Layout
Measure the room and plan your layout. Use a chalk line to mark the starting line, ensuring it’s parallel to the longest wall in the room. Consider staggering the planks for a more natural look.
Step 4: Install the First Row
Begin with the first row along the starting line. Use spacers to maintain a 1/2-inch gap between the planks and the wall, allowing for expansion. If using nails, drill pilot holes to prevent splitting and nail the planks down. For a floating floor, apply wood glue to the tongue and groove and fit the planks together.
Step 5: Continue Installing
Continue laying the planks, ensuring each row is snug against the previous one. Use a rubber mallet to gently tap the planks into place. For tight spots or irregular shapes, cut the planks using a circular saw or miter saw.
Step 6: Fit the Final Row
Measure and cut the final row of planks to fit. Use a pry bar to wedge them into place, maintaining the expansion gap along the wall.
Step 7: Finishing Touches
If you used unfinished Wood flooring UK, sand the entire floor to smooth out any unevenness. Apply your chosen floor finish according to the manufacturer’s instructions. Finally, reinstall the baseboards and moldings.
Tips for a Successful Installation
- Check Moisture Levels: Always check the moisture content of both the subfloor and the wood planks.
- Use Proper Tools: A pneumatic flooring nailer can speed up the installation and ensure secure fastening.
- Take Your Time: Rushing can lead to mistakes. Take your time to ensure each plank is properly aligned and secured.
- Maintain Cleanliness: Keep the work area clean to avoid debris under the flooring, which can cause unevenness.
Installing solid wood flooring yourself can be a fulfilling project that enhances the beauty and value of your home. By following these steps and taking care with each stage of the process, you can achieve a professional-looking result that lasts for years.

